Schedule an Appointment
Scheduling an appointment lets you quickly fill your calendar while WithinEHR automatically handles notifications, availability rules, and team routing in the background.
Before You Start
- Confirm the client has a profile, or be ready to create one during scheduling.
- Verify that practice operational hours and provider availability are set so only valid time slots appear.
Steps to Schedule an Appointment
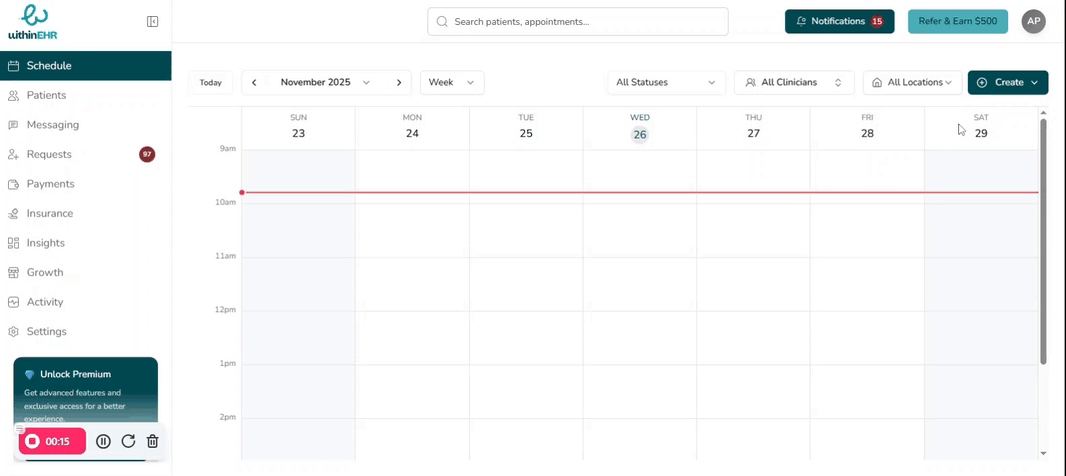
- Navigate to the Schedule tab to open your calendar.
- Initiate — click Create and select Appointment, or click directly on an open time slot.
- Choose appointment type — select Individual, Couple, or Group.
- Select client — choose the correct client from the list. If this is a new client, click Add New Patient to create their profile first.
- Select service — choose the service (e.g., New Patient Intake or Follow-up Visit). This automatically sets the default duration and billing configuration.
- Duration — review the auto-populated duration and adjust if needed.
- Location — confirm or select the visit location (e.g., Main Clinic, Satellite Office, Telehealth).
- Assign clinician — assign a clinician so the appointment appears on the correct calendar.
- Reason for visit — add a brief note (e.g., "Left knee pain – 3 weeks").
- Review — double-check the client name, date, time, duration, location, and clinician.
- Confirm — click Create Appointment or Save to finalize the booking.
Tips and Best Practices
- Use clear, concise reasons for visit to help clinicians prepare quickly before the session.
- Rely on service presets for consistent durations and billing codes, and only adjust when clinically necessary.